This tutorial is intended for anyone who wishes to learn JavaFX the right way and already has experience with the Java programming language. We will cover:
- The proper structure and design of a JavaFX Application - MVC
- How to go about implementing this design pattern
- Explain why we went about creating it this way
- Understand why this design pattern is going to help in the future
Prerequiests
- Java 8 installed on your local machine
- Familiar with the Netbeans IDE
- Intermediate experience in Java
Step 1 - Configuring Netbeans
If Netbeans is not currently installed on your local machine, you can download it here, choose either the Java SE or Java EE version. Download it, extract it, and open up Netbeans.
If you already have it installed, make sure it is Netbeans v8.2 (current version as of writing this article).
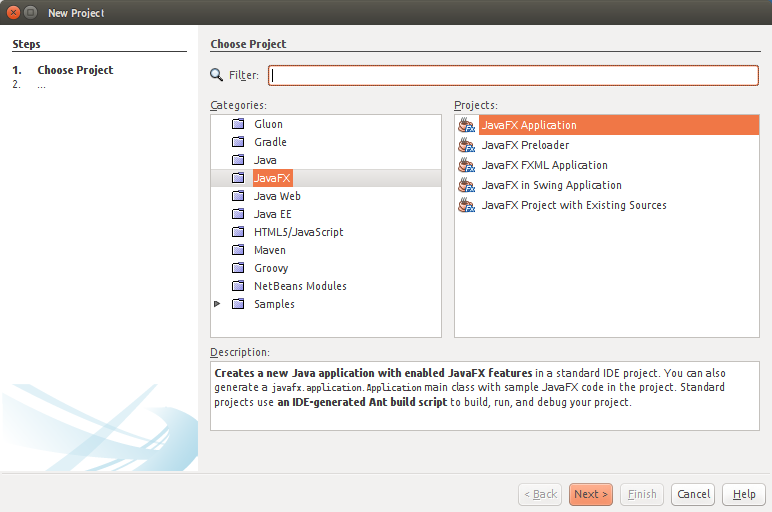
Once Netbeans is open navigation to File -> New Project and under categories, select JavaFX, and then select JavaFX Application under projects.
 Click next, and enter MyFirstFx for the name.
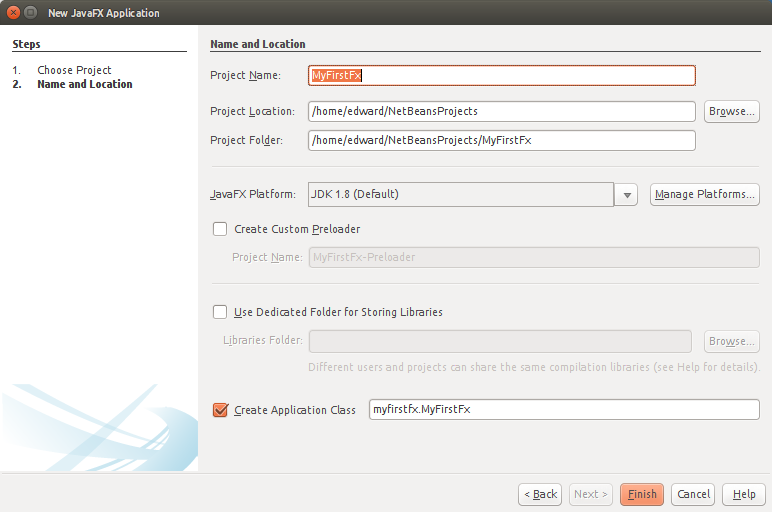 Click finish and the project will be generated.
Netbeans by default creates a basic JavaFX application, but for the purpose of this tutorial erase the generated code so that your MyFirstFx.java file looks like mine below.
package myfirstfx;

import javafx.application.Application;
import javafx.stage.Stage;

public class MyFirstFx extends Application {

  @Override
  public void start(Stage primaryStage) {

  }

  public static void main(String[] args) {
    launch(args);
  }

}
The main class of any JavaFX application must extend the Application class provided by the library. Inside the main class, the public void start(Stage stage) method must be overriden. And finally inside the public static void main(String[] args) method, launch(args) must be called.
launch(args)is a static method in theApplicationclass, and is used to basically tell Java it is time to launch the application. A more detailed way (also helps make sense of what is going on) is to call it like you would call any other static method in java,Application.launch(args).
Right now our program will not launch, now we must configure the structure of the application.
Step 2 - Creating the View
With the Application class created, it is time to create our applications structure. First we will create our View. Pay close attention how we set it up, this will be the foundation of all your future JavaFX applications.
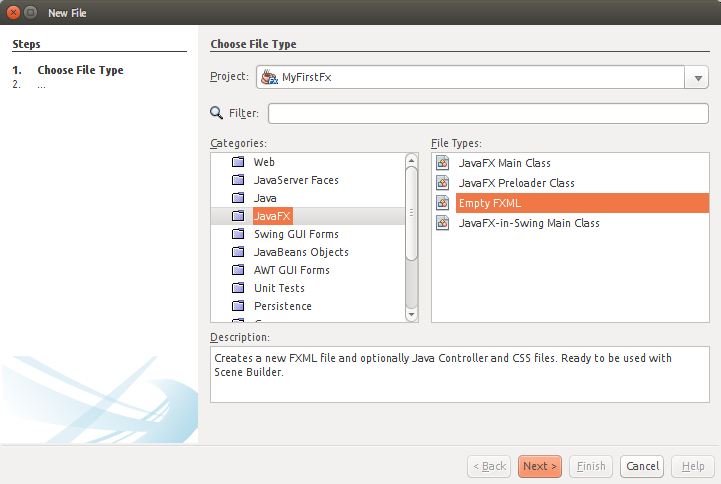
Right click the MyFirstFx under the Projects tab and then browse to New -> Other. Under categories select JavaFX, and choose Empty FXML.
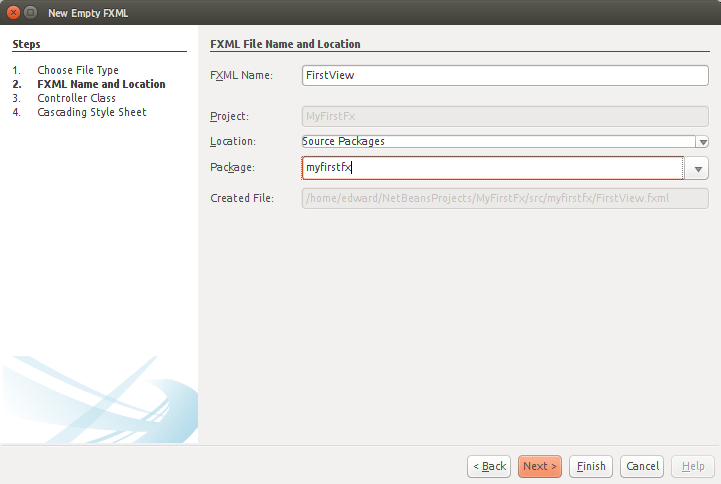
 Click Next, and enter FirstView for the name, and choose the same package as our
 MyFirstFx class.
 Click Finish. Netbeans generates some sample code, modify the code so that it looks like mine below.
<?xml version="1.0" encoding="UTF-8"?>

<?import javafx.scene.layout.BorderPane?>

<fx:root type="javafx.scene.layout.BorderPane"
         prefHeight="400.0"
         prefWidth="600.0"
         xmlns:fx="http://javafx.com/fxml/1"
         xmlns="http://javafx.com/javafx/8.0.65" >

</fx:root>
This FXML file will be treated as our View and is what will be displayed when running our program.
The <fx:root> tag tells Java this specific FXML file is our Root View. In other words, this is our Main View and anything that is displayed will be shown through this view.
In the declaring tag <fx:root>, the attribute type of value javafx.scene.layout.BorderPane is declaring this view to have a layout of type javafx.scene.layout.BorderPane. The BorderPane layout divides the view into 5 sections, top, center, left, right, and bottom.
Also we have two other attributes, prefHeight="400.0" and prefWidth="600.0" assigning this view to default to a window of size 400px by 600px.
Back in our main class MyFirstFx, we need to tell our application that we want to display the view FirstView.fxml. This is done by using the JavaFX class FXMLLoader. Modify the main class so that it looks like mine below.
package myfirstfx;

import javafx.application.Application;
import javafx.stage.Stage;
import javafx.fxml.FXMLLoader;

public class MyFirstFx extends Application {

  @Override
  public void start(Stage primaryStage) {
	FXMLLoader fxmlLoader = new FXMLLoader(getClass().getResource("FirstView.fxml"));
  }

  public static void main(String[] args) {
    launch(args);
  }

}
The statement we added to our main class is telling the FXMLLoader class that we will want to displaly the view FirstView.fxml. This statement does not load or display our view, instead it looks for the file, stores it, and prepares to display it.
As of now, running the application wont display anything.